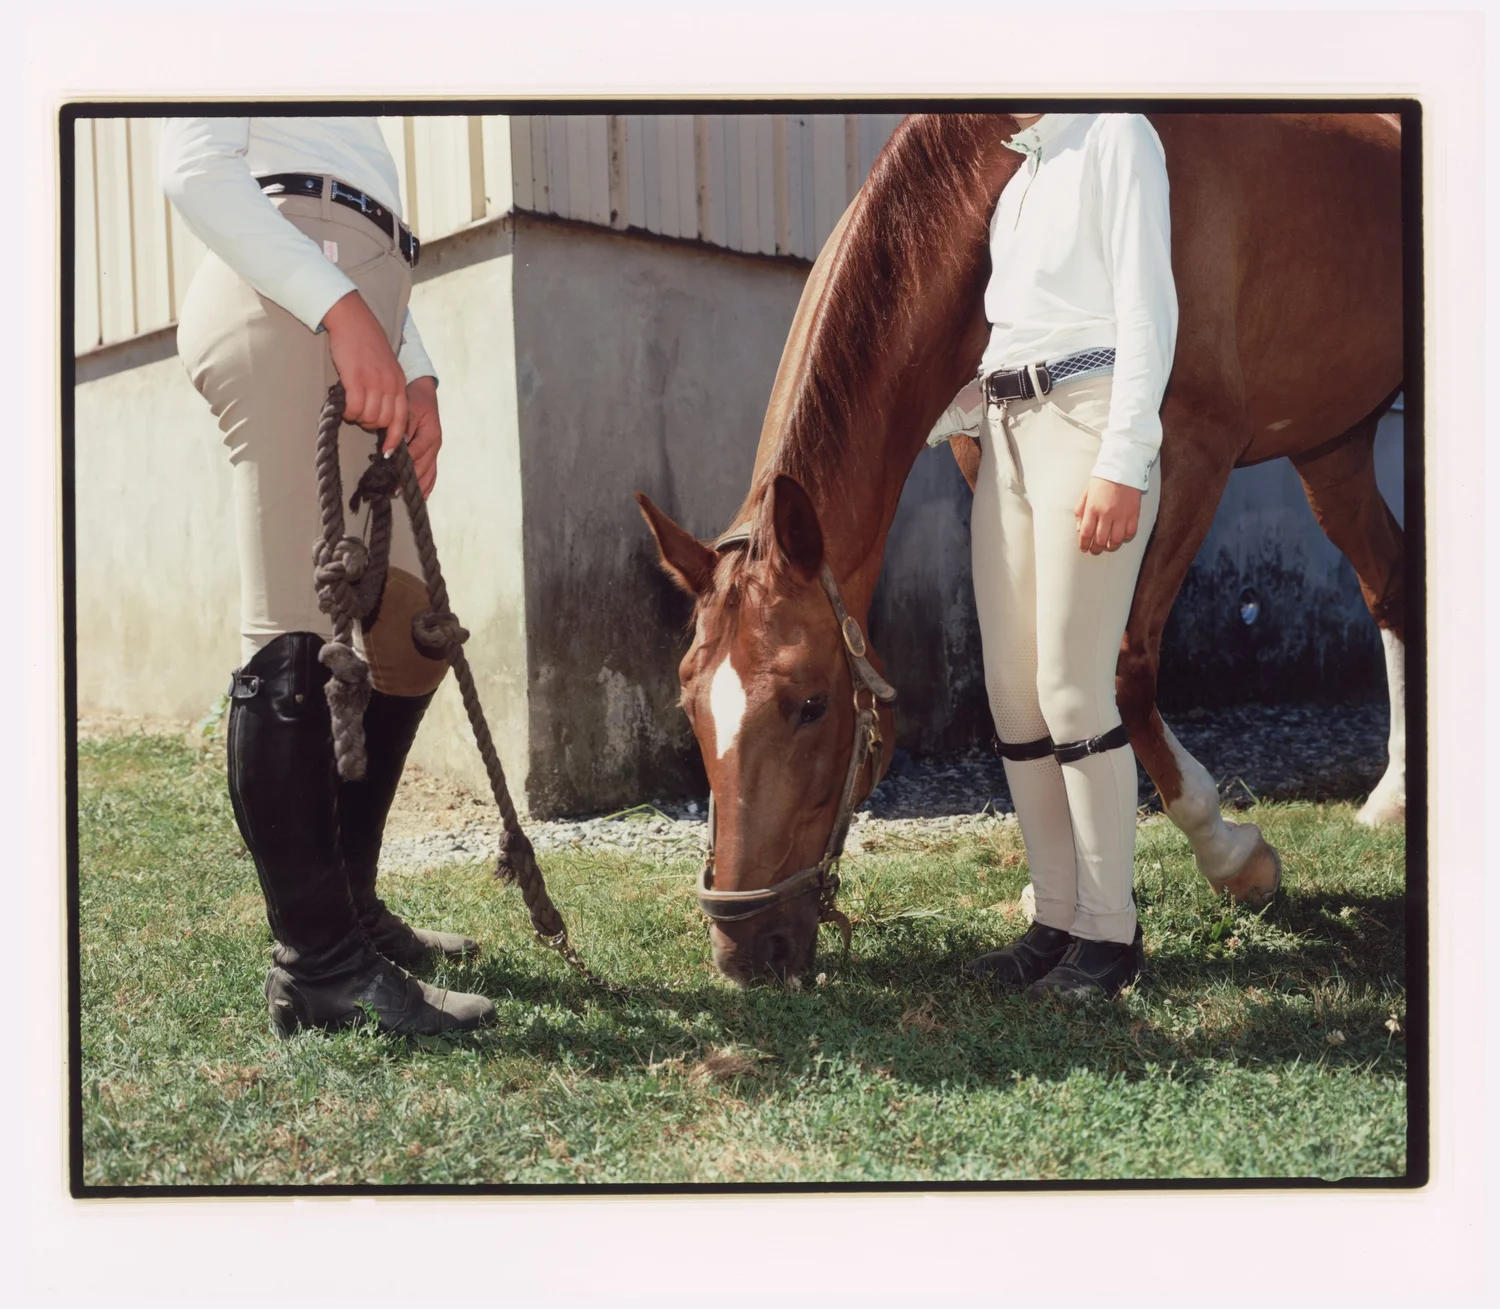
 Plain Photo

Websites don't have
to be boring!
You can open and close these windows below.
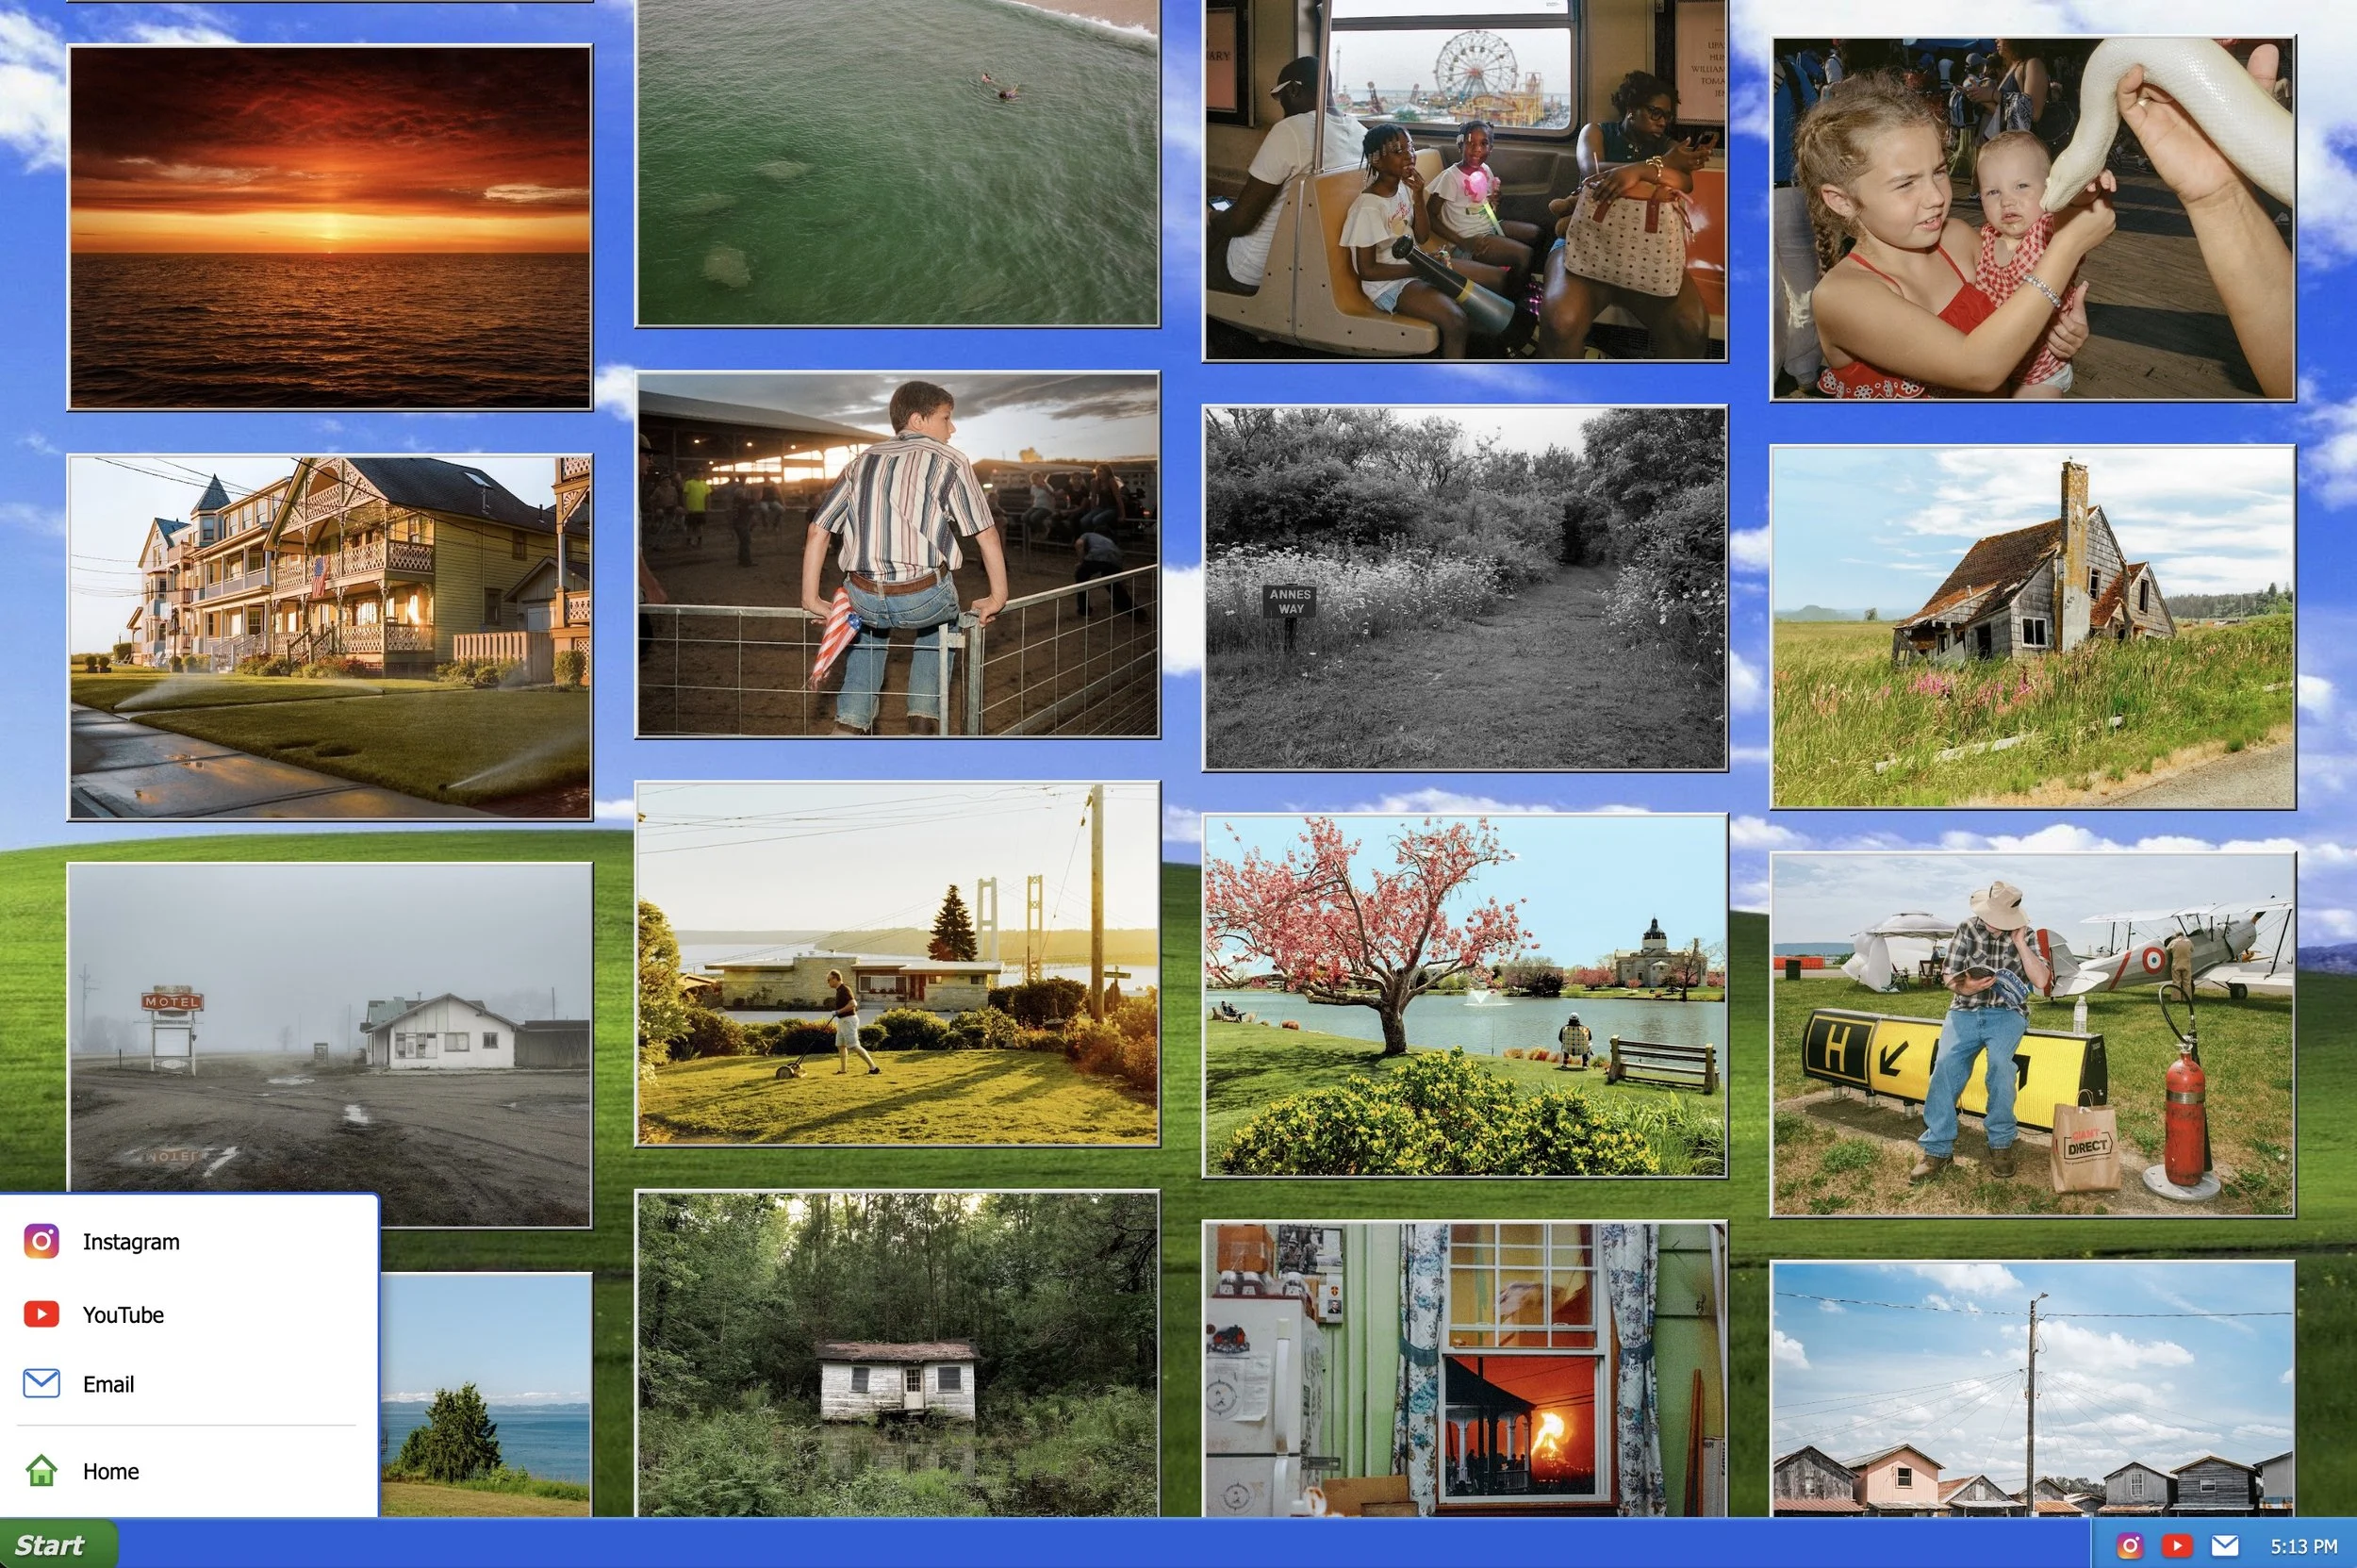
Dave wanted his website to feel like the computer he grew up with. A simple design that was interesting but didn't take away from the work.
Now, his site brings you back to the 90s, and showcases his film photographs the right way. The whole site is a working desktop — a realtime clock based on time, a working start menu, and more.
- An authentic Windows loading screen
- Realtime clock synced to the visitor's time
- Galleries that keep the photographs first
My site
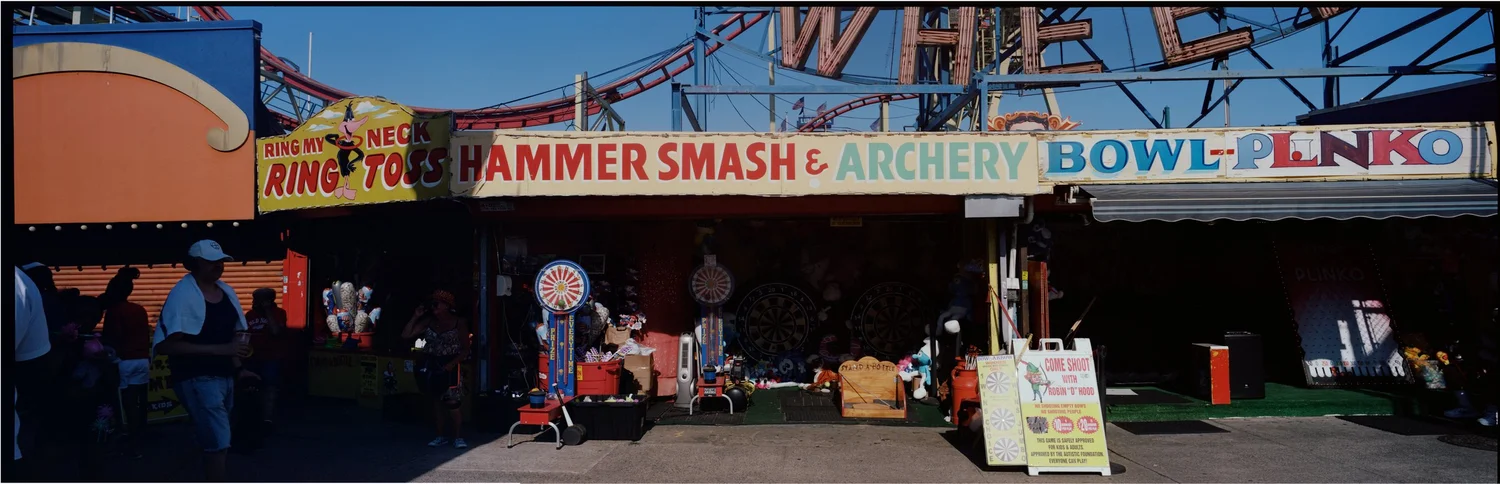
Hand-printed darkroom prints and process notebooks are tactile, analog and handmade. My website was designed to feel the same.
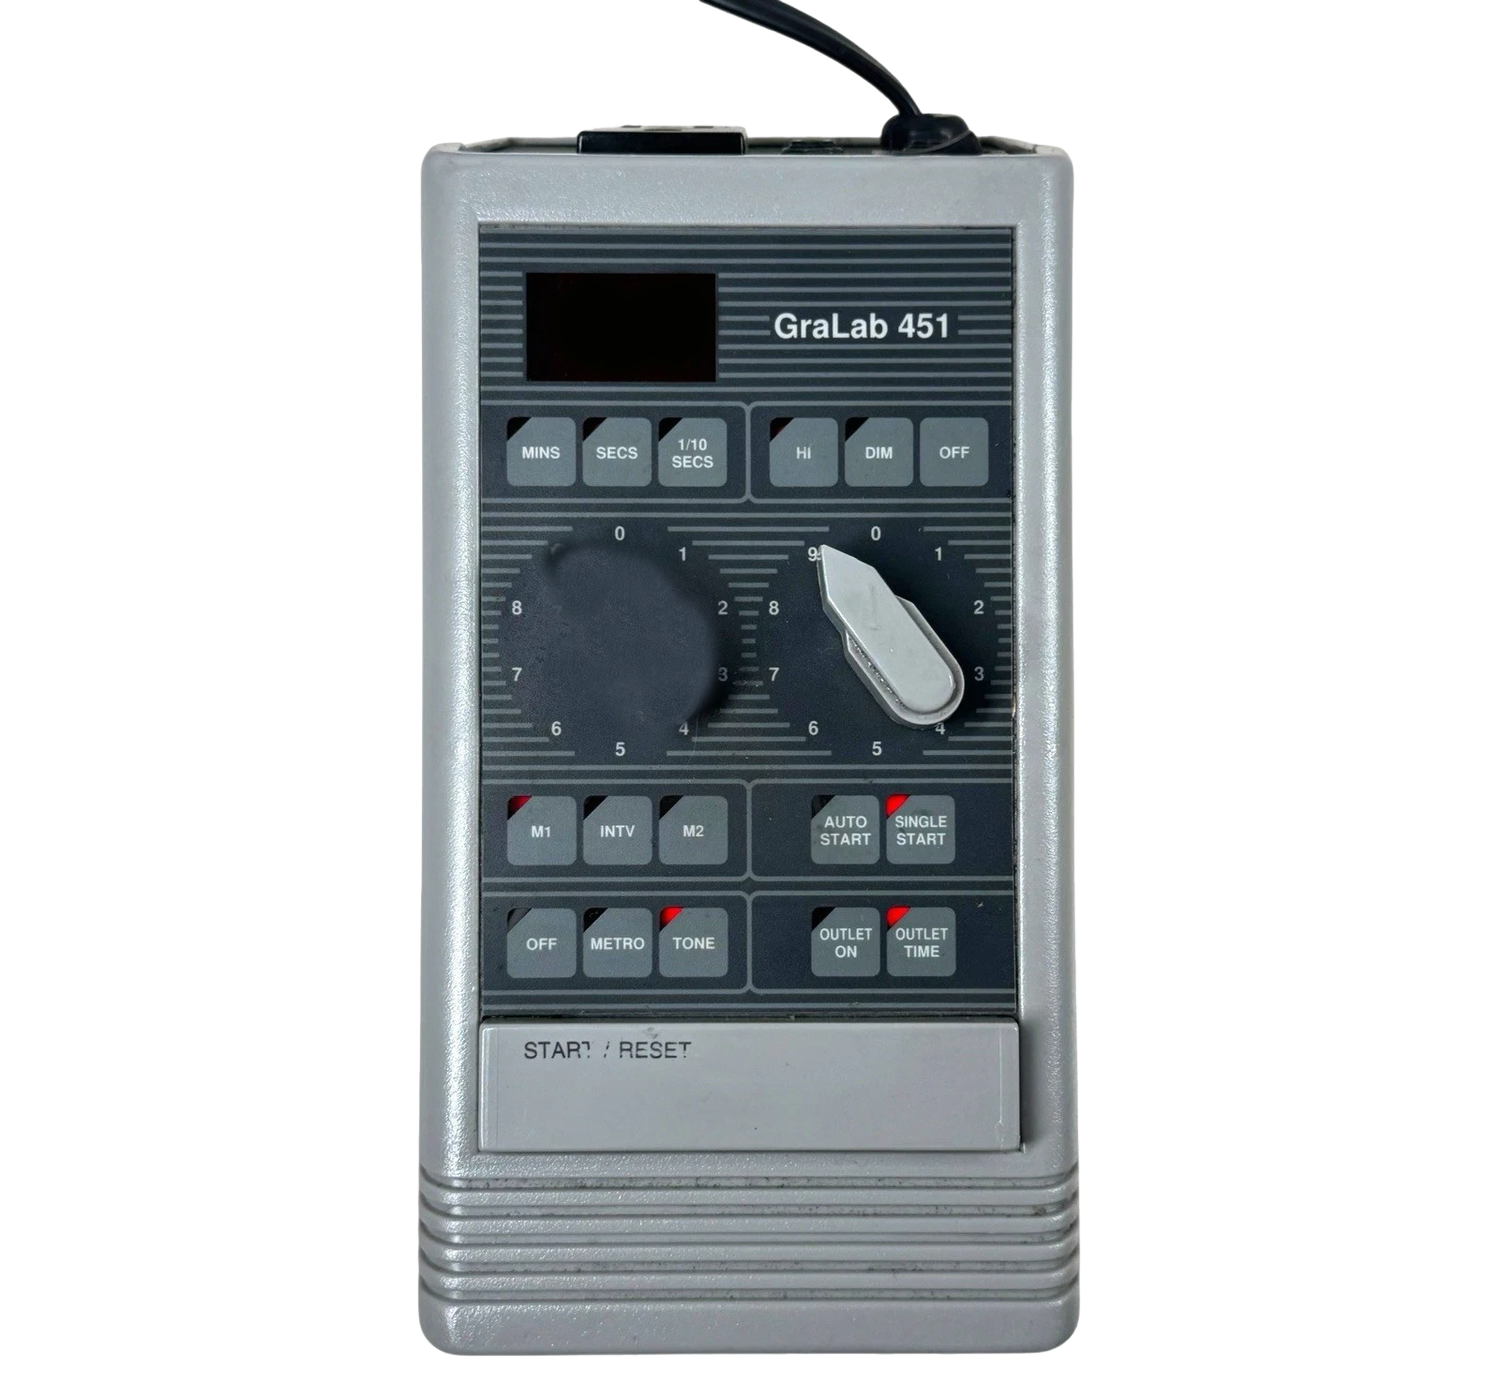
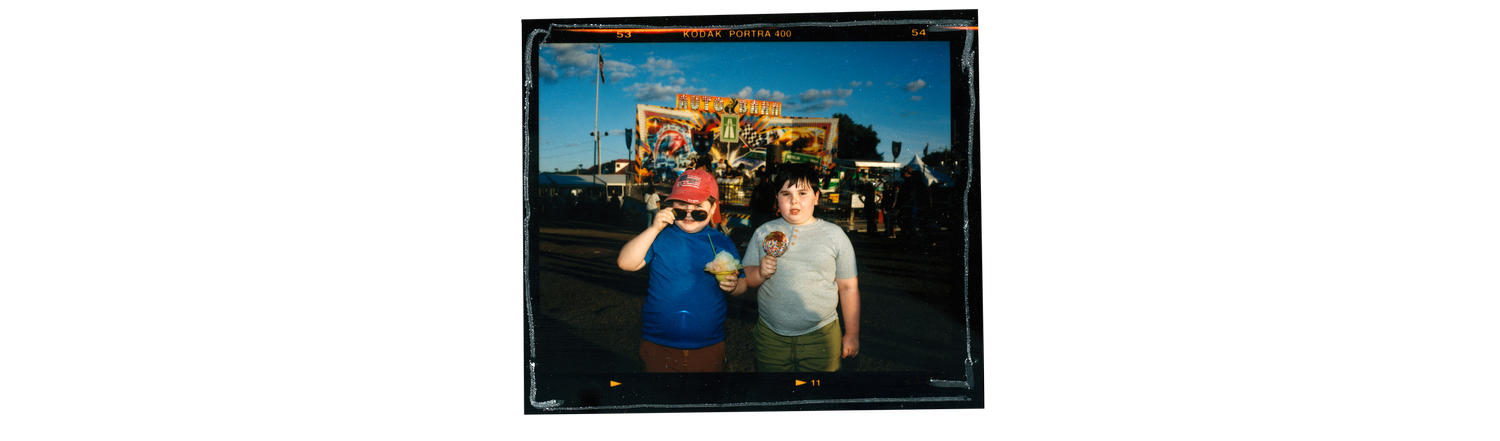
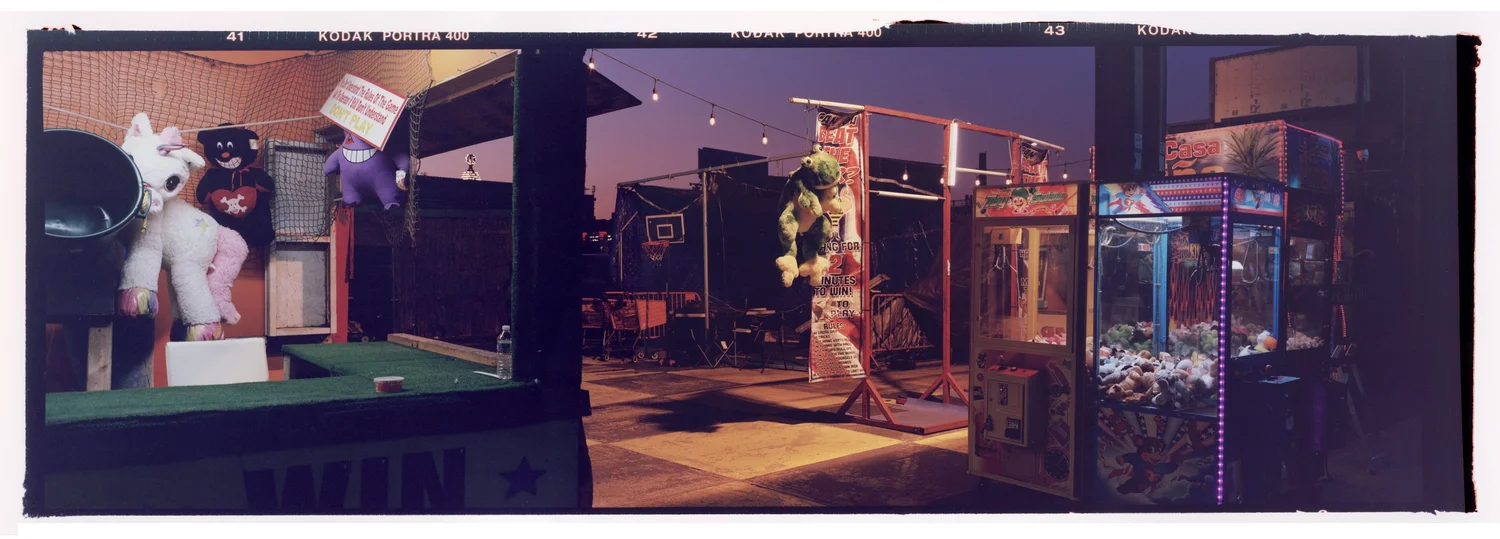
Designed to show the process
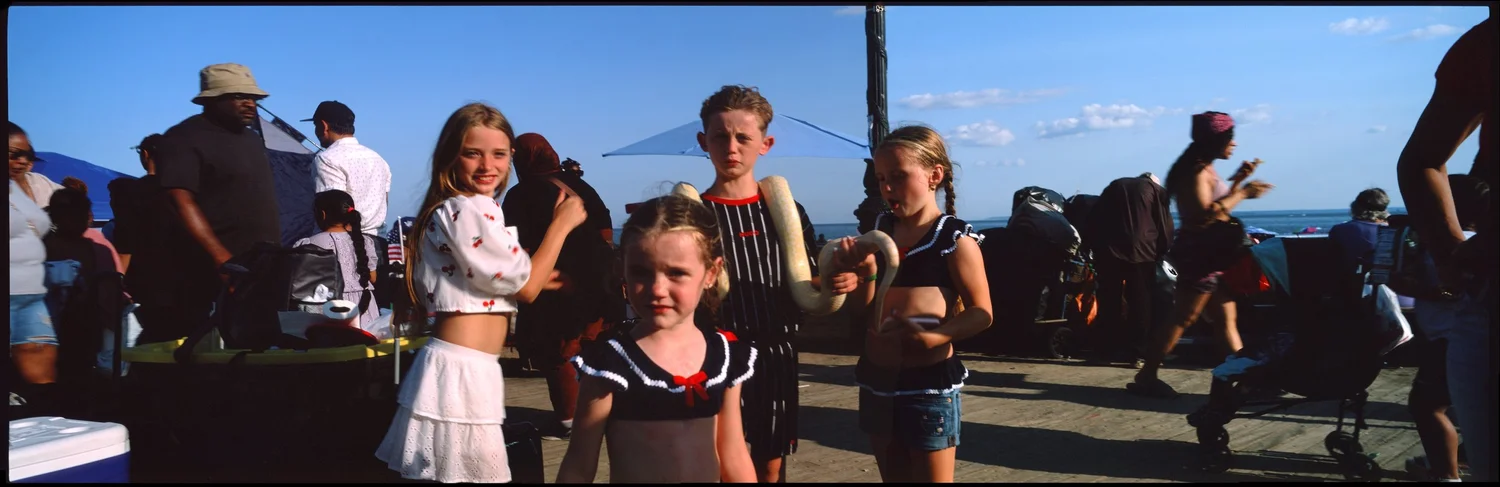
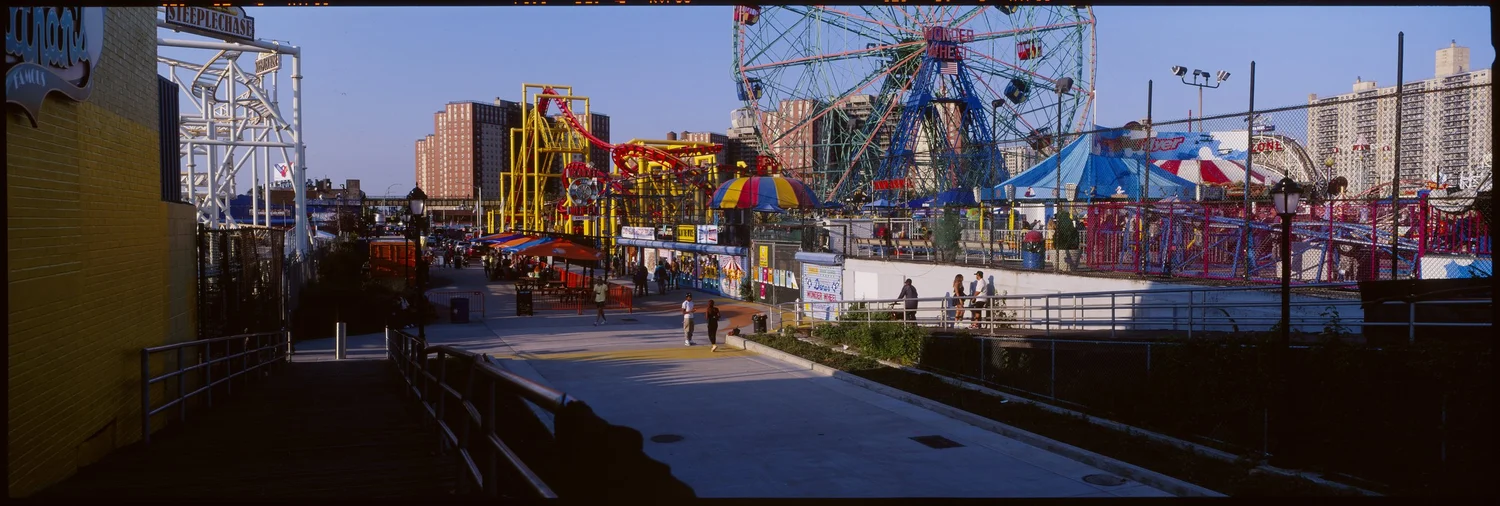
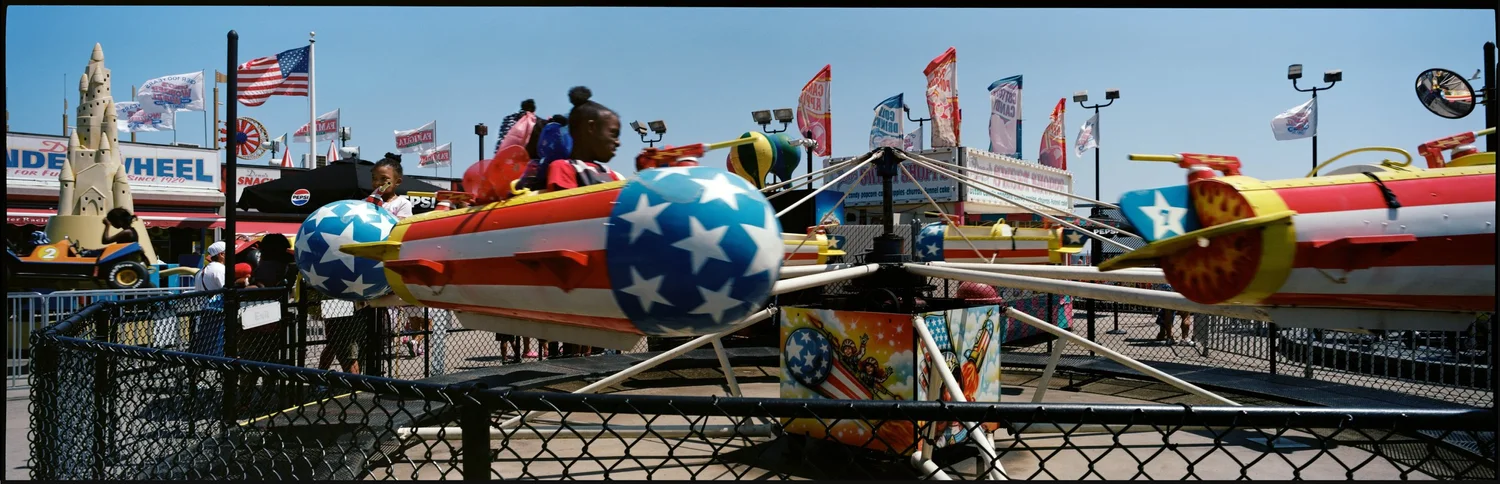
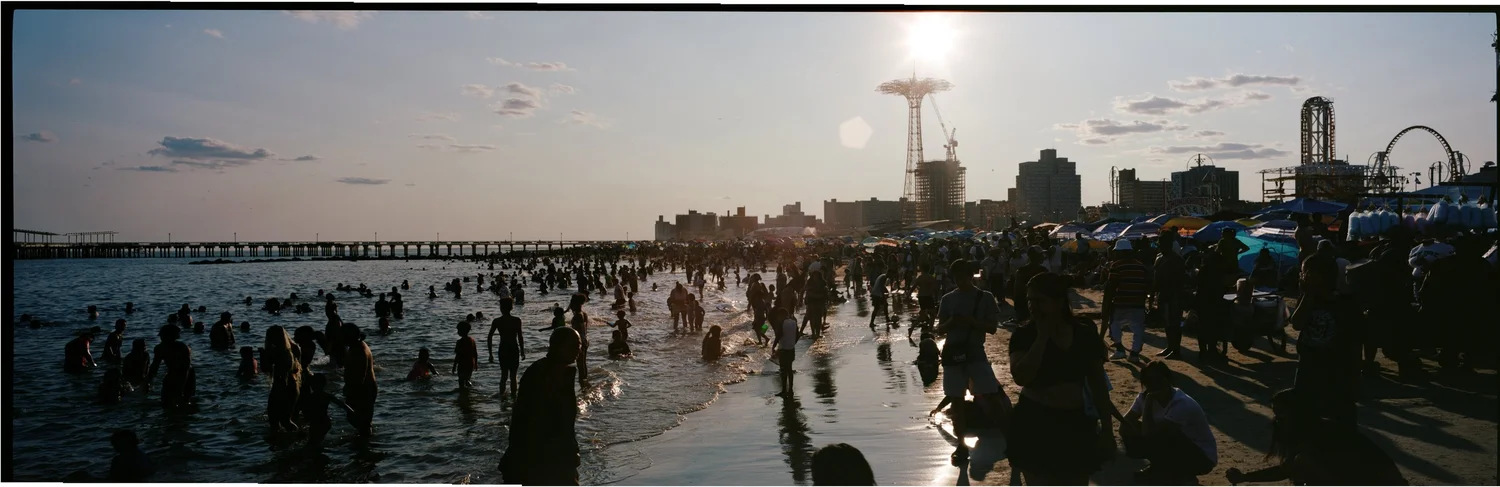
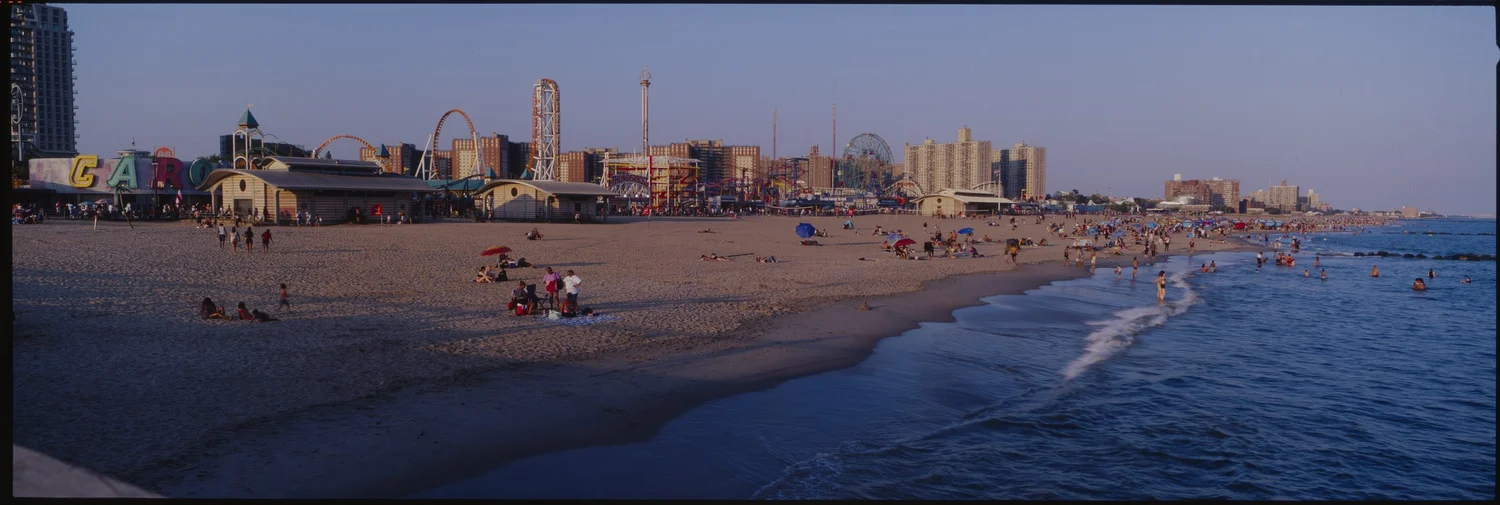
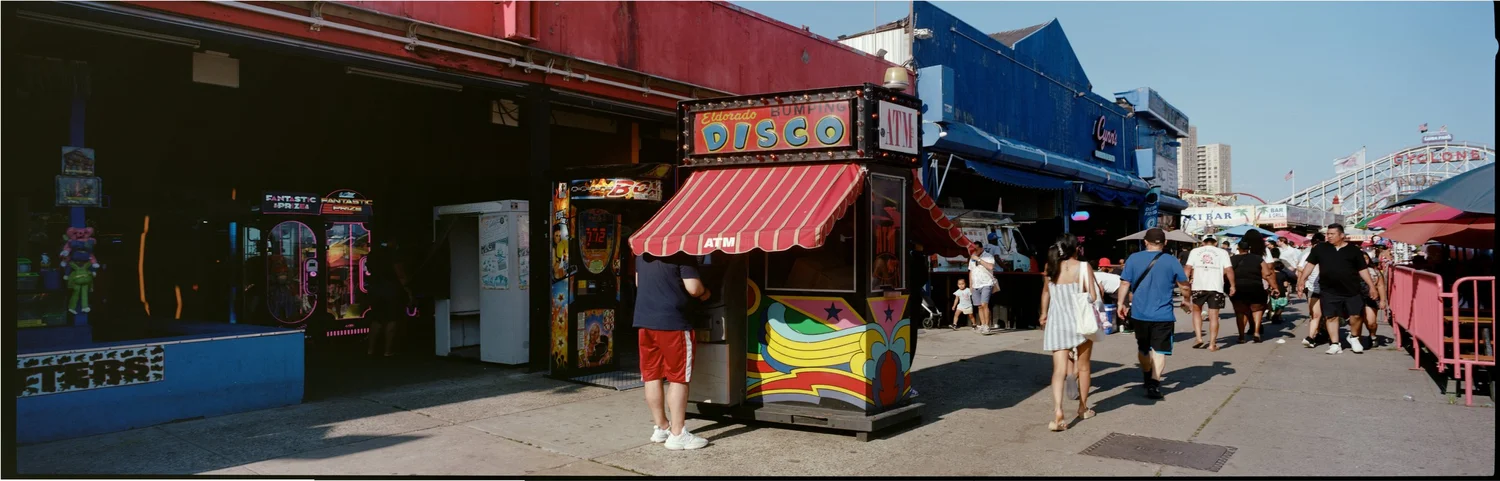
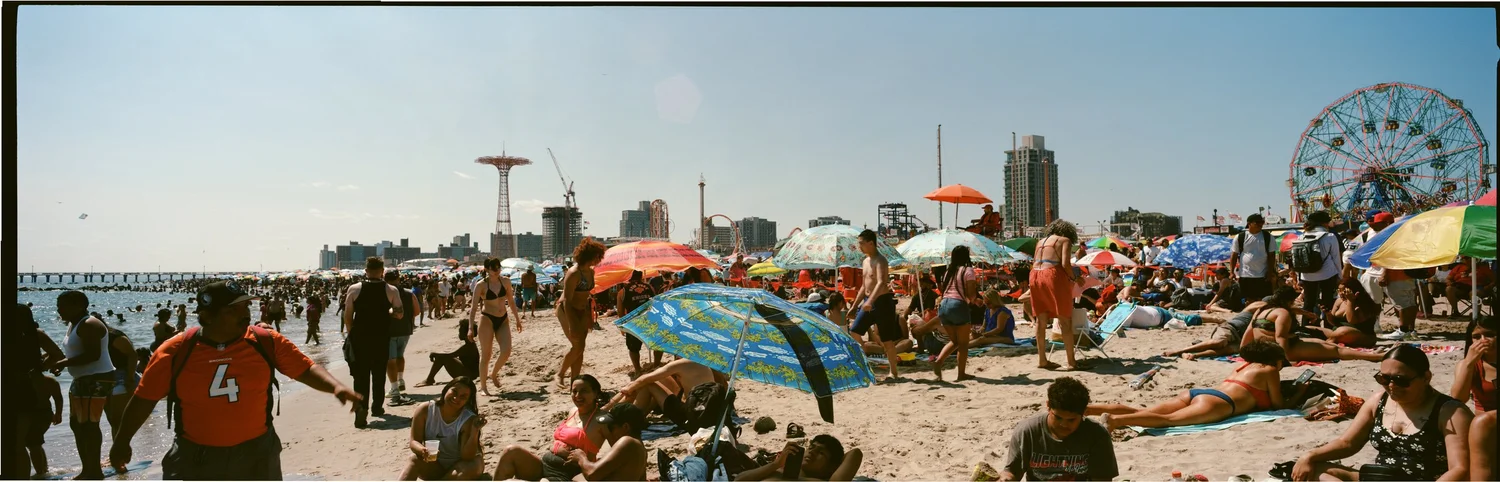
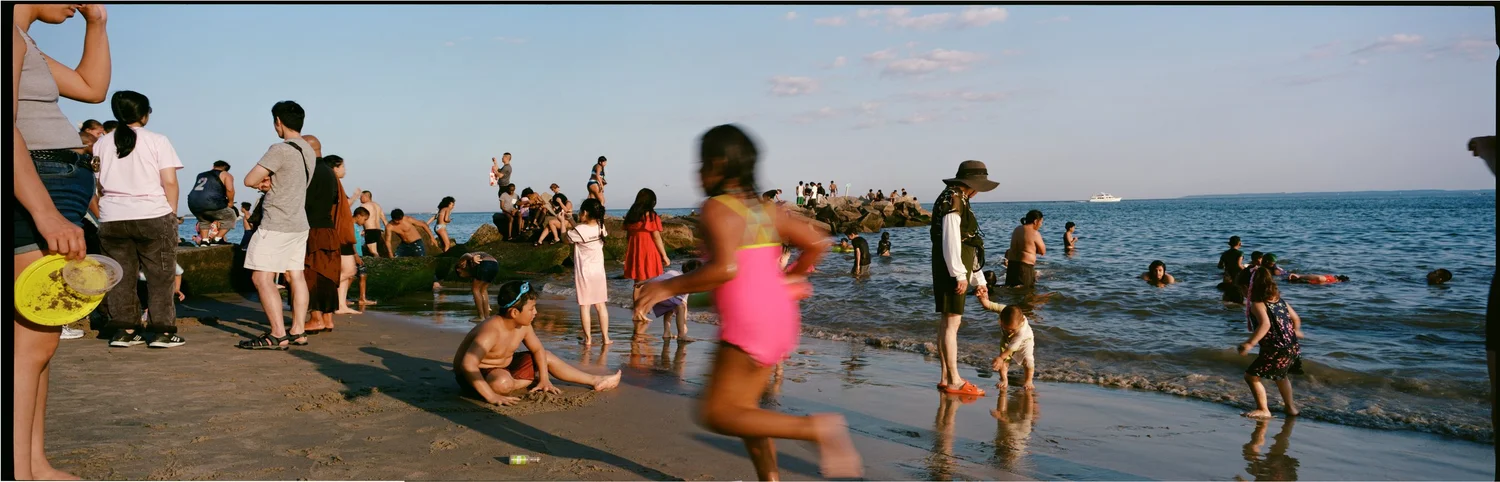
Swipe, drag or use the arrows
How color darkroom printing works
Making a darkroom print is similar to taking a photograph. You're re-photographing the image onto a piece of light sensitive paper —you select a lens, an aperture, a focus, an exposure time. With color, you're also balancing the color against the exposure the whole way through.
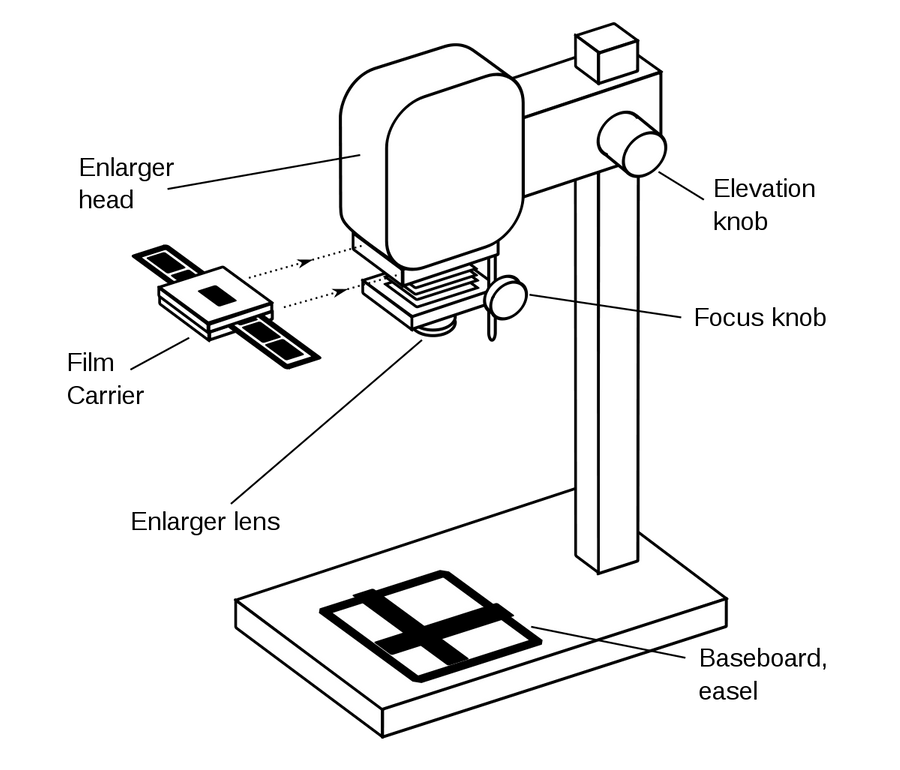
Select a lens size
Different lens sizes work for different negative sizes. For example, for a 6×7 negative, you use a 105mm lens.
Make a contact sheet
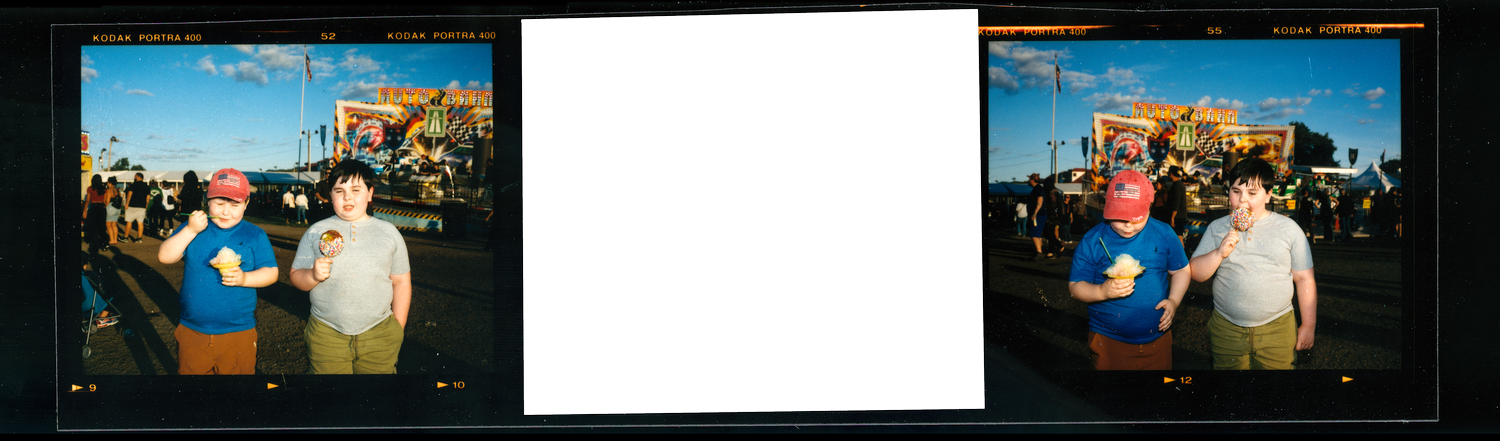
A contact sheet shows all of the photos on your roll so that you can pick which photo you'd like to print.
Position your negative in a negative carrier
You have to be very patient when putting your negative in its carrier. The way that you position it determines how it will print onto the paper below, down to the millimeter.
Focus the image on the paper
Before making an actual print, you need to focus the image onto the paper. Use a grain focuser to make sure the individual grains of the film are sharp.
Make a test strip
To know what settings you'll use to expose your print well, you first need to make a test print of the whole image with different exposure times.
Color balancing
The biggest part of color printing is well, the color. Use color viewers to help you get an idea of what different adjustments will do to your print.
As you adjust the exposure, that also affects the color. So you have to constantly be balancing the two of them.
Examine colors and test prints
As you make strips and tests with different color settings and exposure times, you compare and study them to see what final tweaks you need to make.
Dodge and burn
Dodging: Blocking the light from certain areas of the print to make that area lighter.
Burning: Concentrating the light on certain areas of the print to make that area darker.
Write down notes, settings and exposure times
Document your process and notes so you can learn from your mistakes or reference things later.
Make a final print!
You now have a 1/1 print that will never be exactly like any other print.
Scroll inside the panel
Hire Me
Fill out this form and I'll get back to you with a quote via email! I only take select clients at a time, so please note that spots get filled fast.
I take a limited number of projects each month. You'll hear back from me by email either way.
Thank you so much for considering me to help build your website.
I'll get back to you via email shortly.